Building Your First Add-on
-
Create an OAuth Application at https://api.planningcenteronline.com/oauth/applications. Even if you have an existing OAuth application, we recommend you create a new one just for your add-on so tokens and logs are kept separate. It is important that the URL and Callback URLs actually work (you will need this for the Testing steps later).
-
Install the add-ons CLI tool (you will need Node.js and NPM already installed):
npm install --global @planningcenter/add-ons-cli -
Create a new add-on directory:
planningcenter-add-ons create my-add-on cd my-add-on -
Create a Personal Access Token here.
-
Paste the token details into the
.envfile in your new add-on directory. -
Update the
config.yamland.envfiles as needed to work with your OAuth Server. -
Update your add-on in the cloud by running:
planningcenter-add-ons updateYou might be prompted to update your application ID in
config.yamlwhen running this for the first time. Follow the instructions on screen.
Testing Your Add-on
-
In your organization, visit the Add-ons tab in Accounts here: https://accounts.planningcenteronline.com/organization/add-ons
-
Enable your Add-on. It should have a green "testing" badge next to the title.
-
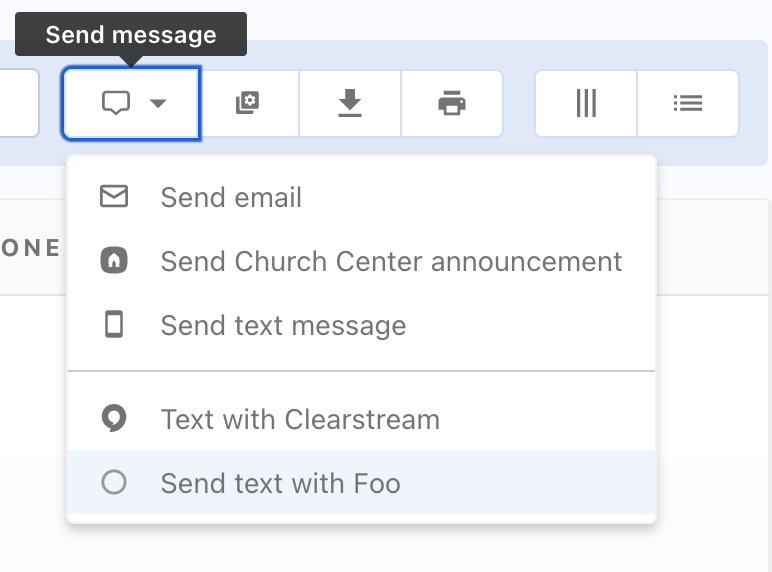
Visit a List in the People product (create one if it doesn't already exist), click the messaging icon, and click the "Send text with Foo" item.
-
Your add-on should appear on the screen. Follow the instructions on screen to authorize it.
Revoking Your Add-on
As you are testing, you will likely need to test OAuth authorization repeatedly. To revoke the add-on token and force the user to re-authorize, you can visit https://api.planningcenteronline.com/addons/authorizations, click on your add-on, and click "Revoke".